When selling or displaying work online, whether in a venue like etsy.com or even for our jury via the online application, you really only have one way to impress your audience--great product photography. Unfortunately, no matter the quality of your crafts, they won't catch people's attention unless you capture them just right through a lens. So to give you an inside tip on how to impress the jury...and everyone else with your work, I've put together a two part post on how to gain the upper hand through good product photography. Today we'll discuss the elements of lighting and staging, and next time we'll talk about using your camera to the fullest as well as give a few editing tips.
Lighting Techniques
First (and perhaps most important), let's go over a few techniques for lighting your work properly. Here are two basic rules to follow: 1) Never use harsh, direct lighting. 2) Never use an unfiltered flash. Look at the examples below. You can see the example necklace shot in three different light settings--harsh direct light, low light with a flash, and set up in a light box.


You can easily see which quality of picture is best--and therefore which picture is most likely to sell the product. The harsh, direct lighting creates garish shadows around the necklace that really distract from it and using a flash mutes all of the details in the necklace, creating a generally muddled and discolored photo.
For best results with controlled lighting, you should shoot your products in a light box--a translucent cube that evenly disperses light around the object. Light boxes transform narrow beams of light into broad, big light which softens shadows and gives a pleasant, even tone to the photograph.
Now I realize that most of us aren't that serious enough photographers to go out and buy a light kit. So through a great tutorial (and using products I already had at home), I made this DIY light box in about 20 minutes and for absolutely free. Once I made the light box, I used two desk lamps to light the necklace shot above. The whole process was quite simple. I spent the most time just fiddling with lamps to find the best lighting angles. I found that jewelry is usually best lit from the top. You might also have to adjust the diffuser panels (in my case, waxed paper) according to what you're shooting. For the ceramic mug I photographed (below) I taped an additional piece of paper directly above the mug, inside the actual light box, to create the lighting I wanted.
If you don’t want to go through the trouble of making a light box, here are a few other tips to create the desired look:
1) Shoot in soft, natural light. If the morning light through your window is too strong, wait until the afternoon to shoot. If the sunlight coming through your window is too direct, you can help diffuse it by hanging a sheer panel.
2) Just like when using a light box, you'll have to play with the relation of the sunlight to your product. Changing your position will affect the shadows and color of your photo, so take pictures from multiple angles to see which you like best.
3) If you have an object too big to fit in a light box or on a tabletop, you'll probably need to shoot it outside in closed shade, like on a porch.
Staging Products
Second, let's talk about staging or how you position your items to be photographed. Now, you don't have to create an elaborate stage for your items. Many product photographers prefer not to. There are pros and cons to both. For example, look at the pictures below. Which would you prefer to buy?


One the table top, the necklace looks like it might be right at home on your dresser. However, in the light box, you can get a better look at the whole product.
If you choose to stage your crafts for photography, here a few guidelines and ideas:
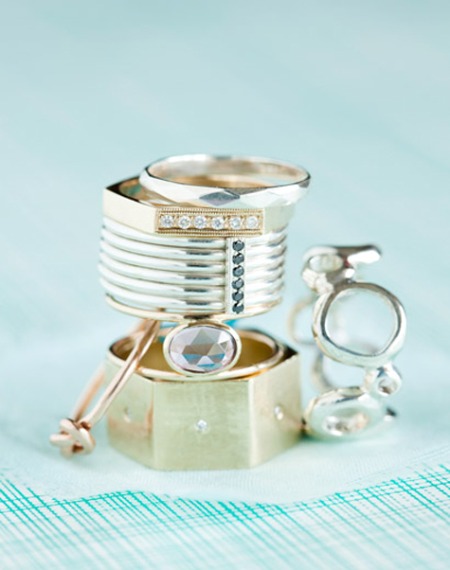
1) Choose a simple background--especially if your products are small. I like how this photographer foiled her jewelry with the brightly colored card stock. I think it really makes the silver pop.

2) If you are going to include other objects in the photo besides your craft, make sure they enhance the overall feel of the photo and never detract from what you're actually trying to show off. For example, I shot the ceramic mug below with items that naturally associate with coffee--whole beans, a napkin, cinnamon, etc. But I made sure that the focus of the picture remained on the mug.

3) Position your products creatively or to show off their best angles.
4) If you want ideas for staging your specific craft, check out this website. It gives a lot of good tips for different craft items.
Here are some parting examples of staged products that I really like. For further reading, check out some of the links below in my shout-out section. Happy photographing!


Shout-out to more wonderful sources that made this article possible:
My friend and local photographer, Philip Eoute.